Folding Flowers 2
Make a flower design using the same shape made out of different sizes of paper.
Problem
You might like to try Folding Flowers 1 before this challenge.
Below is a picture of an unfolded piece of paper.
Can you work out what shape is made when it's folded up using the crease pattern shown?
Image

Click below if you want to see the shape.
Image

Can you make one of these shapes with a new piece of paper?
Now make several of the same shape from A4, A5 and A6 pieces of paper in two contrasting colours.
Challenge 1
Take a large and small shape made from your first colour and a medium shape made from your second colour.
Make a pattern from your shapes, by laying them on top of each other, that fits both of these rules:
You must be able to see at least part of each shape.
All three shapes must fit inside the perimeter (outline) of the largest shape.
Challenge 2
Use a new large, medium and small shape to recreate the same pattern but in opposite colours from Challenge 1.
Place these two patterns next to each other and continue to fold and add to your pattern until you've made a flower.
Can you predict how many of your original Challenge 1 pattern you will need?
We would love to see photos of your flowers!
Getting Started
What do you notice about the different types of fold on the crease pattern? Can you tell which direction each fold is in?
What order do you think the folds were made in?
How could we check what we've done so far?
What order do you think the folds were made in?
How could we check what we've done so far?
Student Solutions
We had some good responses to this paper-folding task. Class 13 at Ninelands Primary sent in the following:
Children in Class 13 made lots of different patterns in folding flowers. It was quite difficult doing the first fold, so we used scrap paper. Once we could fold the paper correctly, it was easier to make the shape using A5 and A6 paper. Some of us found it hard to make the shape symmetrical but we enjoyed experimenting and making lots of different patterns, using our imagination and trial and error.


Sam and Millie from Barnby Road Academy told us:

Finally Students from St Gabriel's School also had a go at Folding Flowers 2 and this is one of the solutions they came up with:

We had some late submissions from North London Collegiate School. They were as follows:-
The year 6's were Kate , Paris , Sherla , Chloe and Lana .
The year 5's were Gracie, Lana, Siya, Avril Chloe and Rali
The year 4's were Maya, Ella, Irene, Karina. Roshni, Liv, Imani, Anika, Ahana.
Here are their lovely creations:-
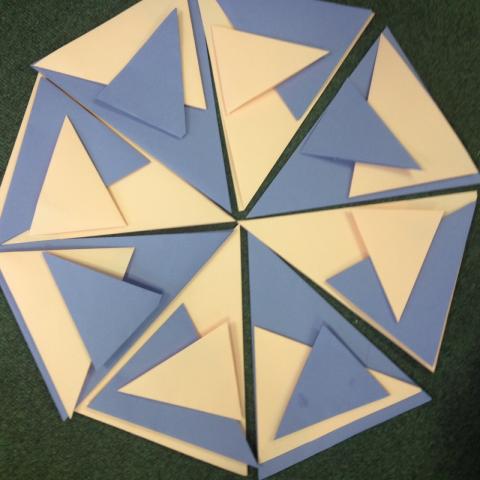
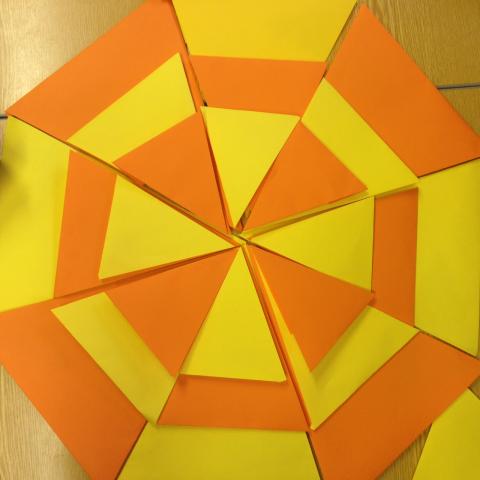
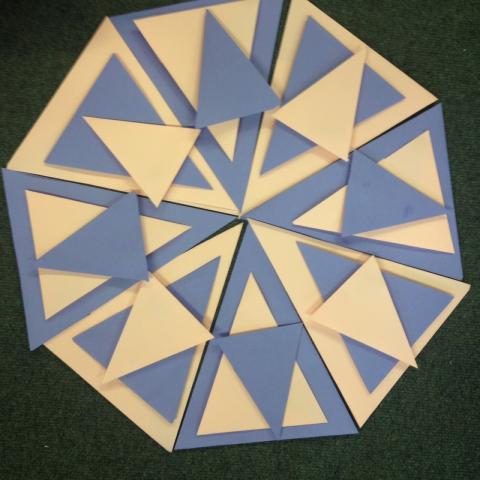
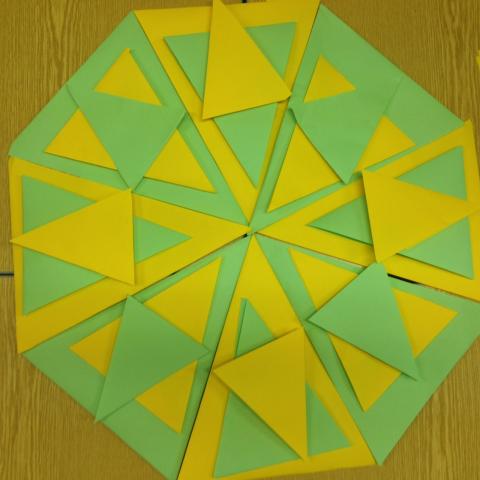
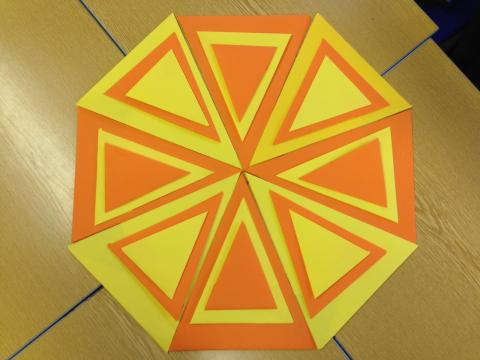
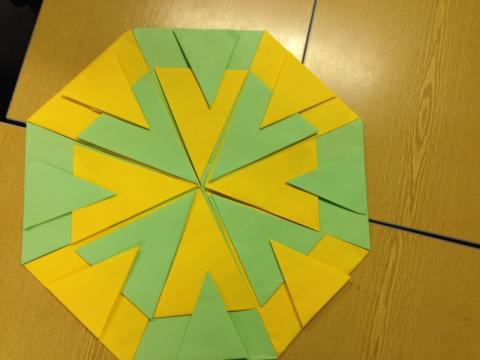
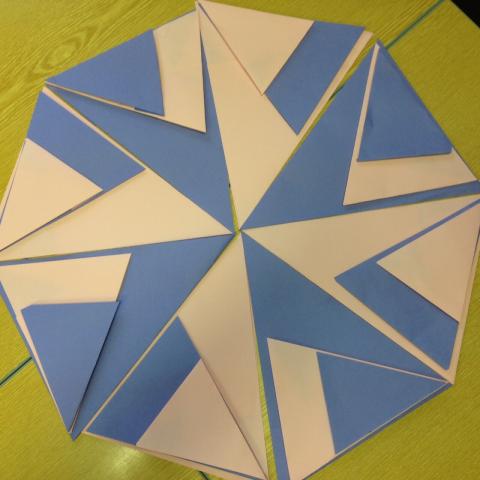
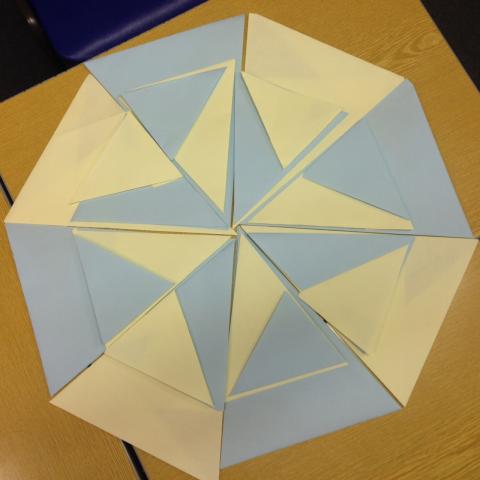
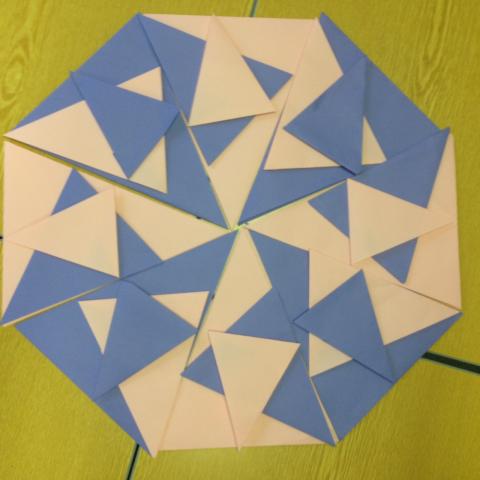

Well done all of you. I am sure there are others who worked on producing shapes but did not send pictures in.
Children in Class 13 made lots of different patterns in folding flowers. It was quite difficult doing the first fold, so we used scrap paper. Once we could fold the paper correctly, it was easier to make the shape using A5 and A6 paper. Some of us found it hard to make the shape symmetrical but we enjoyed experimenting and making lots of different patterns, using our imagination and trial and error.
Image

Image

Image

Sam and Millie from Barnby Road Academy told us:
Image

Finally Students from St Gabriel's School also had a go at Folding Flowers 2 and this is one of the solutions they came up with:
Image

We had some late submissions from North London Collegiate School. They were as follows:-
The year 6's were Kate , Paris , Sherla , Chloe and Lana .
The year 5's were Gracie, Lana, Siya, Avril Chloe and Rali
The year 4's were Maya, Ella, Irene, Karina. Roshni, Liv, Imani, Anika, Ahana.
Here are their lovely creations:-
Image
Image
Image
Image
Image
Image
Image
Image
Image
Image

Well done all of you. I am sure there are others who worked on producing shapes but did not send pictures in.
Teachers' Resources
Why do this problem?
This problem provides the opportunity to develop visualisation skills. It requires children to solve the conundrum of what happens in between, when they are given a picture of a crease pattern and the finally-folded shape.
Possible approach
Just share/project/show the picture of the crease pattern first and allow children to talk about what shape they think it might make when re-folded.Then share the picture of the ready folded shape (or a real one you made earlier!) and ask children to talk about what they think now.
Give each pair of children a piece of A-sized paper (A4 is easier for smaller hands or beginner folders, but any A size will work) and ask them to try and recreate the shape. They can of course un-do their folds at any point in order to check whether their crease pattern matches the one in the picture.
Here are some examples of flowers made by children at Abbot's Hill School, Hemel Hempstead, which you may or may not wish to share with your class:
Image

Image

Key questions
What do you notice about the different types of fold on the crease pattern?What order do you think the folds were made in?
How could we check what we've done so far?
