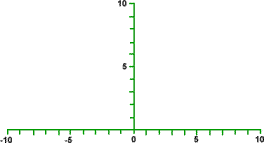
If you think that sewing isn't for you, think again. These curve stitching patterns look fantastic and once you've got the hang of it, they take next to no time to do. All you need is a little bit of coordinate know-how!
You'll need:
|
Image
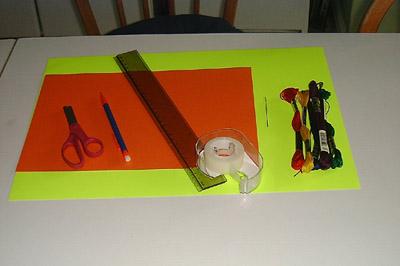
|
It is useful to practise this just by drawing lines using your ruler to start with, then you'll be more confident when it comes to the real curved stitching. Here's how to practise:
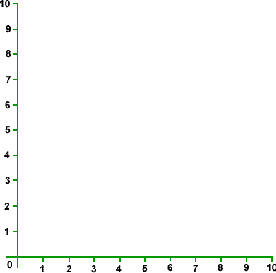
- Using the ruler and pencil, draw a set of axes on a piece of
scrap paper numbered from 0-10 in both directions like the ones
below:
Image
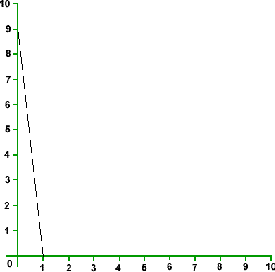
- Join the 1 on the x-axis to the 9 on the y-axis with a straight
line. Your diagram should now look like this:
Image
- In the same way, join the 2 on the x-axis to the 8 on the
y-axis with a straight line:
Image
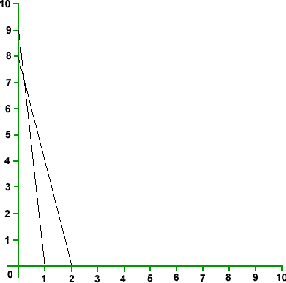
- Continue like this, joining numbers on the x-axis to numbers on
the y-axis, making a total of 10 each time. You should end up with
this pattern:
Image
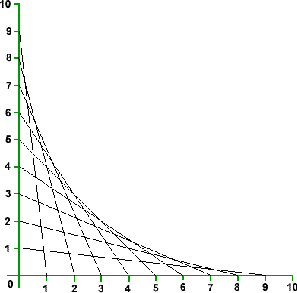
Now that you've had a go on paper, you're ready to stitch!
- Draw the same set of axes as above onto a piece of thin card
(use about 1cm to one unit).
It is useful to use pencil so that you can rub them out later if you want. - With the blu-tack or plasticine behind the card, push the needle through each point on the axes to make a small hole.
- Cut a length of thread (about 50cm long -- if it's too long you'll get in a tangle!).
- Thread one end through the needle a short way.
You may need an adult to help with this part. - Tie a knot at the other end (the long end) of the thread.
- Carefully push the needle through the card so that it comes up at (0,0).
Push the needle down through the point (0,10) so that you have a line of thread over the y axis. Image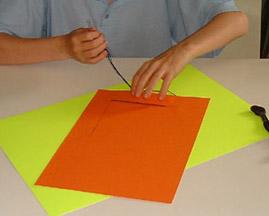
- Push the needle up again at (0,9) and down into (1,0).
- Image
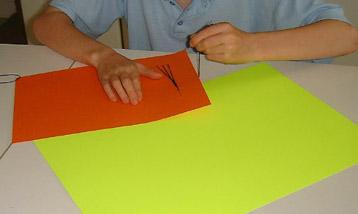
Push the needle up at (2,0) and down into (0,8). - Continue in the same way until you push the needle down into (0,0) again.
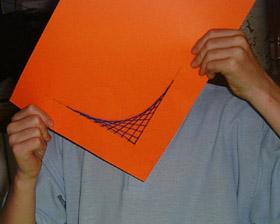
Unthread the needle and tape down the end on the back of the card. Image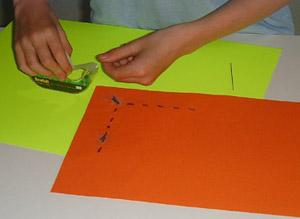
- Cut off any thread which is not needed.
- If you want, you can rub out the numbers on your axes now.
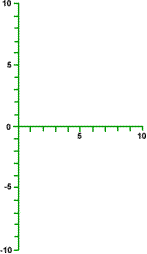
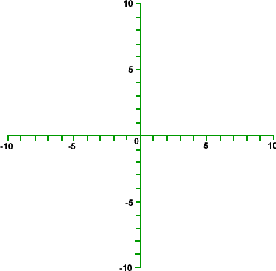
There are lots of variations on this curve stitching idea. Why not try some of these:
| Extend the axes, for example:
|
Image
|
- Use binca (which you can buy from craft shops or on the web)
Image
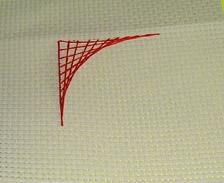
- Use your curved stitching patterns as part of a larger picture
- Try overlapping several curves to make interesting shapes

