Exploded Squares
Can you create symmetrical designs by cutting a square into strips?
Problem
For this activity, you'll need:
- A square piece of paper (you could use a gummed square or plain paper or wrapping paper ...)
- A piece of plain backing paper, larger than the square of paper
- Scissors
Start by folding the square piece of paper exactly in half.
Keep the square folded and hold it so that the fold is on the left or the right. Then cut from top to bottom of the folded square, near the open edges, like this:
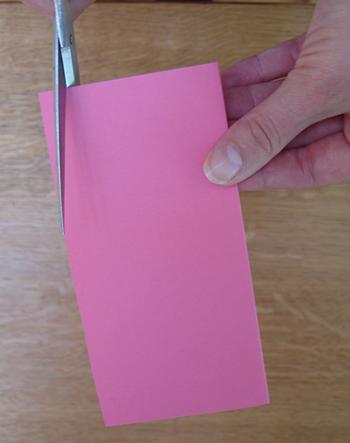
You could cut in a straight line, in a 'zig-zag' line or in a wavy line, it is completely up to you. You should now have two strips of paper and the rest of the folded square.
Repeat this a few times so that each time, you cut off two pieces of paper from the open edge of the rest of the folded square.
You should be left with lots of strips and the folded edge, which you can open out:
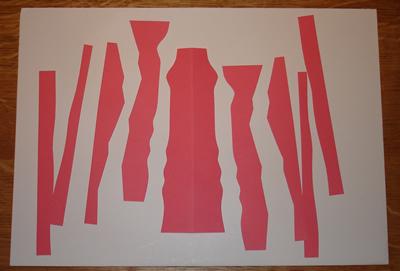
Mark out the centre of the backing paper.
Next, stick the piece which was the folded edge of the square onto the backing sheet so that the centre of the backing sheet is exactly underneath the fold.
Can you lay out the strips of paper on either side of the folded piece so that they form mirror images of each other, with the fold being the mirror line?
You could create more exploded squares. For example, what happens if you ...
- fold the square of paper in half in a different way?
- have the mirror line in a different orientation (e.g. horizontal, vertical ...)?
- fold two (or more) squares together so that you cut them in exactly the same way but arrange them differently on the backing paper?
- fold in half again before cutting?
I am sure you can think of your own 'what if ...?' questions.
Please do send us photos of your exploded squares. We'd love to see them.
This activity is based on an idea in Mathematics Through Art and Design published by Collins Educational.
Getting Started
You could draw in your cutting lines with pencil before using scissors.
How will you know that your picture has a line of symmetry?
Student Solutions
We have heard that the children at Sacred Heart School in Sheffield really enjoyed making these "exploded squares". Their teachers sent these pictures in for us:
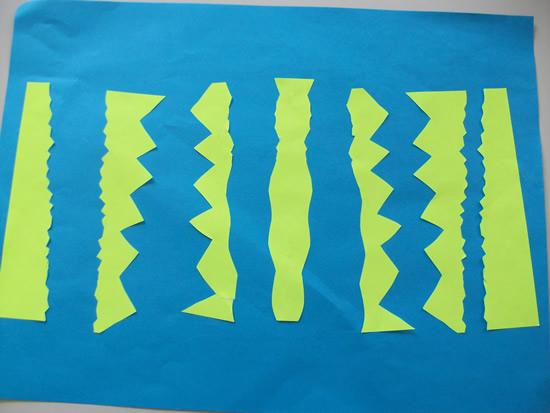
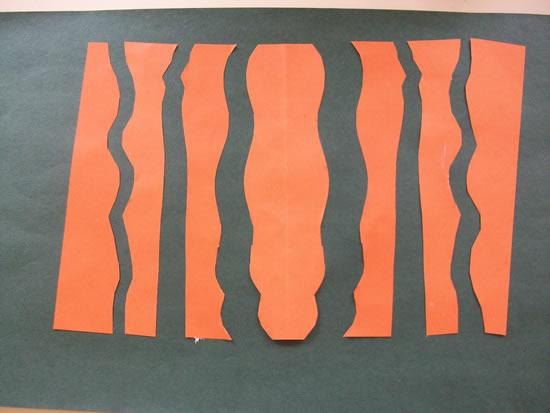
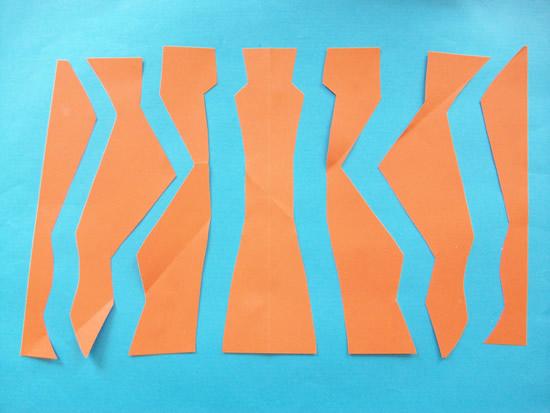
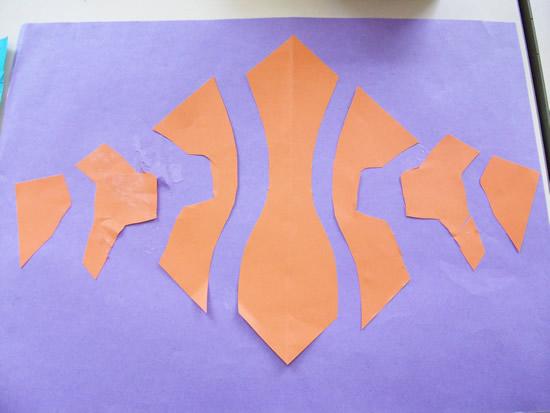

Thank you very much for sharing your "exploded squares" with us.
Teachers' Resources
Why do this problem?
Possible approach
Key questions
Possible extension
Encourage children to explore what happens when they fold the square more than once. Many children will also have their own ideas to investigate.
Possible support
